Note: The SQL database backup tool works on SQL 2008 and later databases. If you use an earlier version of SQL, you will have to upgrade to 2008 or later to use this tool.
See this Knowledge Base article for more details on upgrading your database.
Go to the
Website Cloud Backup dashboard and click the "Add Database" button.
You will be taken to the Connection Details page:
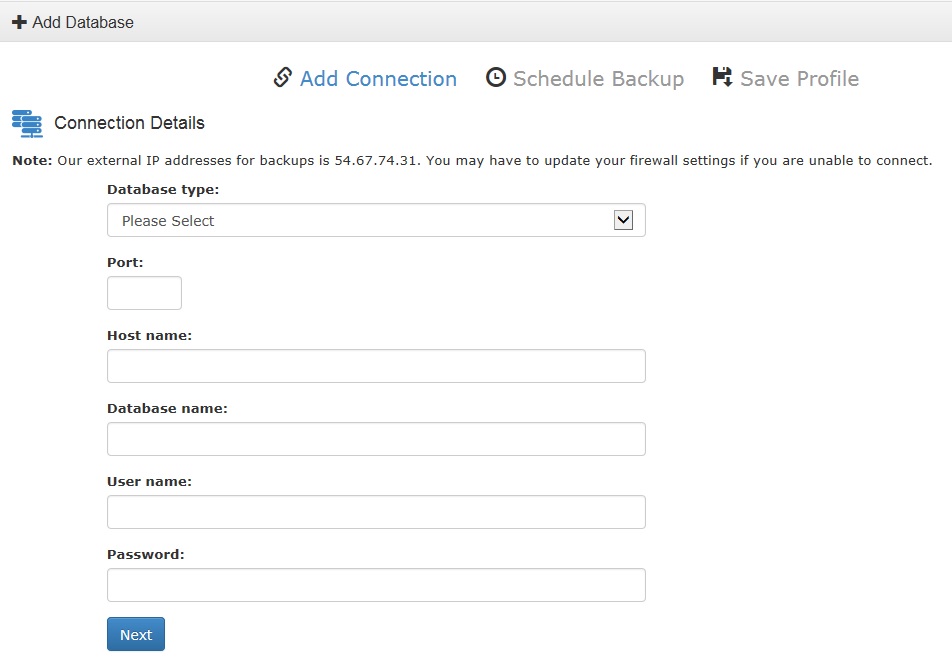
- Choose Microsoft SQL database in the dropdown.
- Port: 1433
- The host name is the SQL Server Name that can be found in the Control Panel, for example SQL2k1201.discountasp.net.
- Enter the database name.
- Enter the database user name.
- Enter the database password.
Schedule the Backup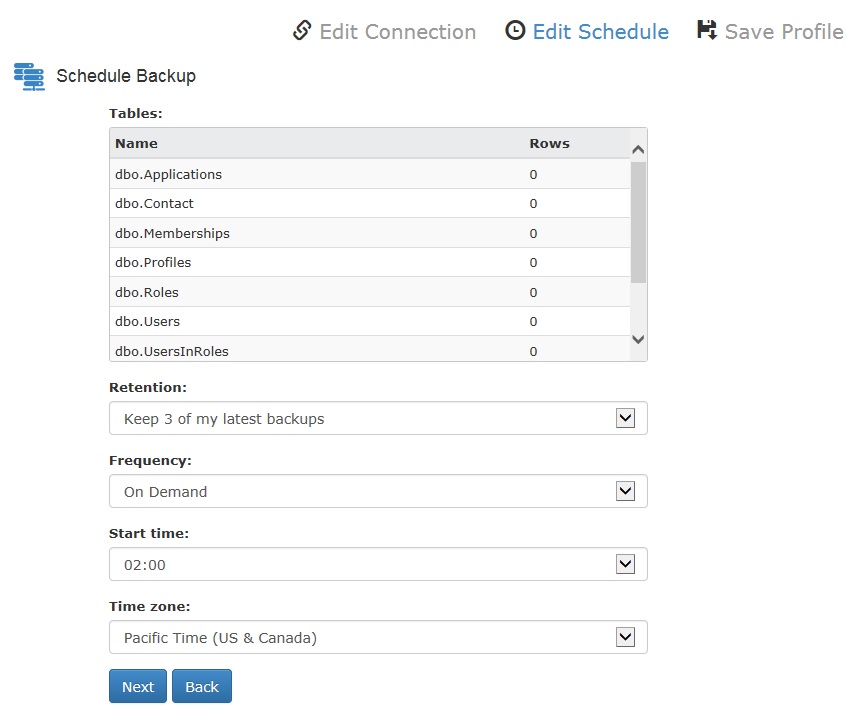
When you click "Next," the system will test the connection, and if successful, you will be taken to the database Schedule Backup page.
- Verify that all tables are accounted for.
- Set the number of backups you want to save in the retention field.
- In the frequency field, select how often the backup should run.
- Select a start time for the backup.
- Set the time zone to your local time.
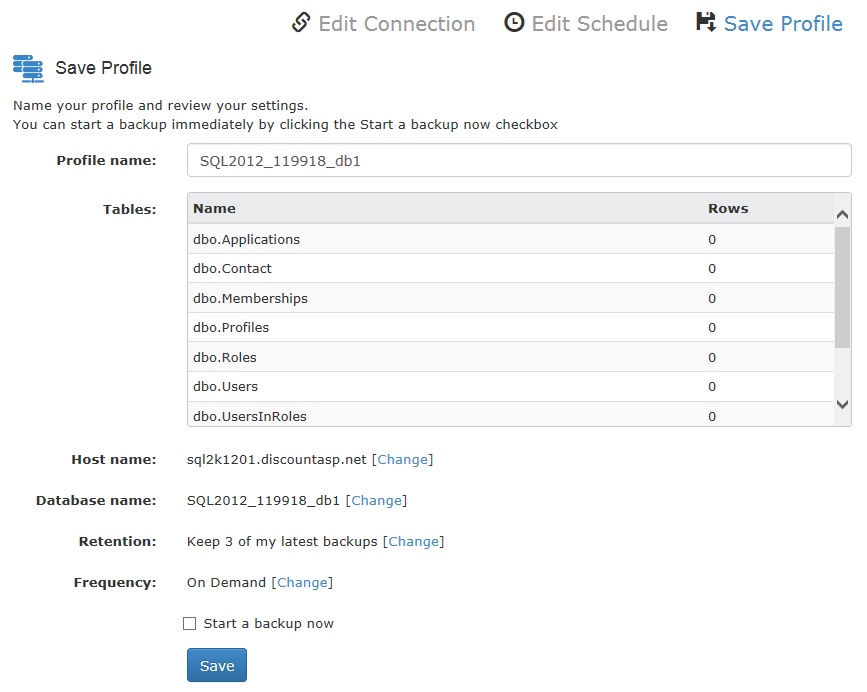
Save the Backup ProfileClick "Next" to finalize the settings and enter a unique profile name. Check "Start a backup now" to make an immediate backup of your database.
 Restoring an MS SQL database
To restore from a backup, download the backup file:
- Go to the Website Cloud Backup dashboard.
- Click the Download Files button for the database you wish to restore.
You will then be taken to the MS SQL Create Download window:
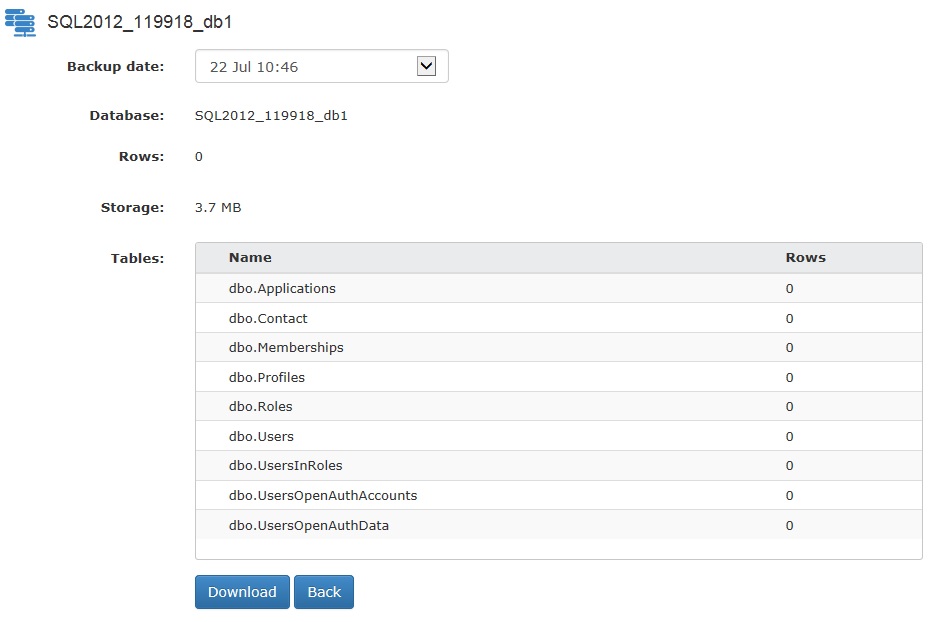
Choose the backup date you would like to download. In the Tables list you can view all of the tables and objects you will be downloading.
Click the Download button and the database will be compressed in a zip file and downloaded to your computer.
To restore the database to your DiscountASP.NET SQL 2012/2014 database, you will need to decompress the zip file, then upload the backup file (ending in the extension .BAK) to your site root via FTP.
See the Knowledge Base article
SQL 2012 Management Tools or
SQL 2014 Management Tools for instructions on using the MS SQL management tool in Control Panel.